Driving from Abbotsford to Hope in winter
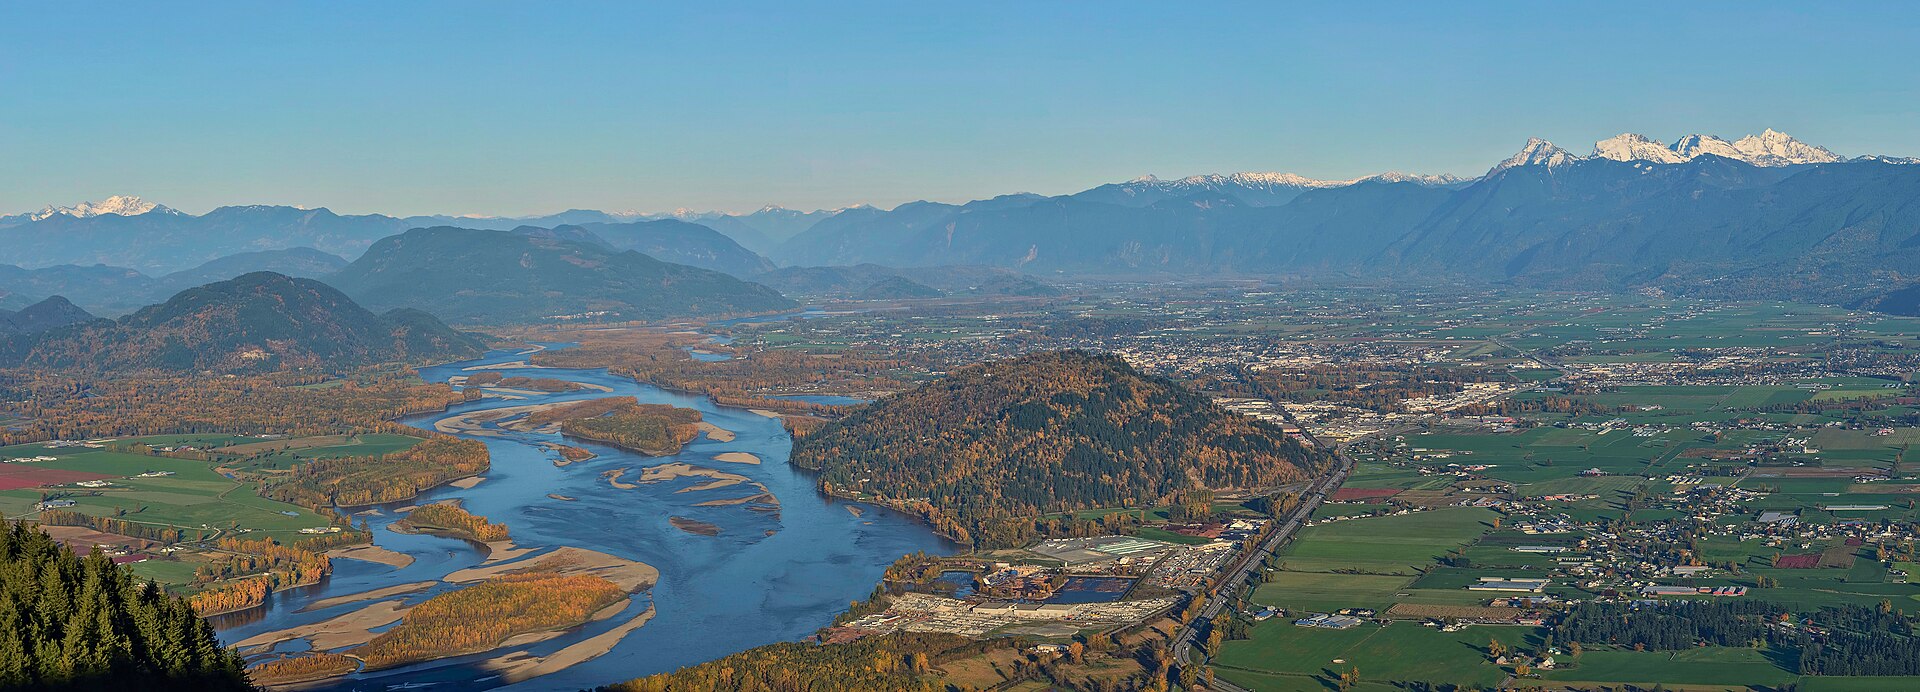
Flat valley highway most of the way — until the mountains close in past Chilliwack and the weather changes with them.
UPDATED SEP 2026 · 9 MIN READThe route, exit by exit
Select a stopAbbotsford — Sumas Way / Hwy 11
Your starting point. Fuel up here — prices are usually lower than further east. Traffic from the Mission and Sumas border connections merges at this interchange, so expect congestion at peak times.
What changes in winter
From Abbotsford to Chilliwack, Highway 1 crosses the flat Sumas Prairie. In winter the main hazards here are standing water, spray from trucks and low fog — and the occasional Arctic outflow that drops temperatures fast and brings snow right down to the valley floor.
East of the Highway 9 interchange the valley narrows. Temperatures run a few degrees colder, wind funnels between the mountains, and rain is more likely to turn to snow. By Hope you're at the gateway to three mountain routes, and conditions can be very different from where you started.

Through the year
Rain, fog and occasional snow on the valley floor. Colder and snowier east of Chilliwack.
Fewer hazards, but watch for spring freshet warnings and debris after storms.
Heavy long-weekend traffic toward Harrison and the Interior. Leave early.
Leaf-covered shoulders, early fog and the first cold snaps. Book tire swaps early.


_02.jpg)
.jpg)
_-_panoramio.jpg)